Introduction
In today’s fast-paced world, understanding the ins and outs of home maintenance can save you a lot of time and money. One area that often gets overlooked is chimney repair. A well-maintained chimney is crucial for the safety and efficiency of your home heating system. This article aims to equip you with the basic skills needed for DIY chimney repair, transforming your knowledge from vague ideas into concrete actions.
Whether you're dealing with masonry chimney repair or just looking to understand the components of your chimney better, this guide will cover all the essential information you need. Let’s dive deeper into the intricate world of chimney care!
Understanding Your Chimney Structure
What Are the Main Components of a Chimney?
Before embarking on any DIY project, it’s important to know what you’re working with. The main components of a chimney include:
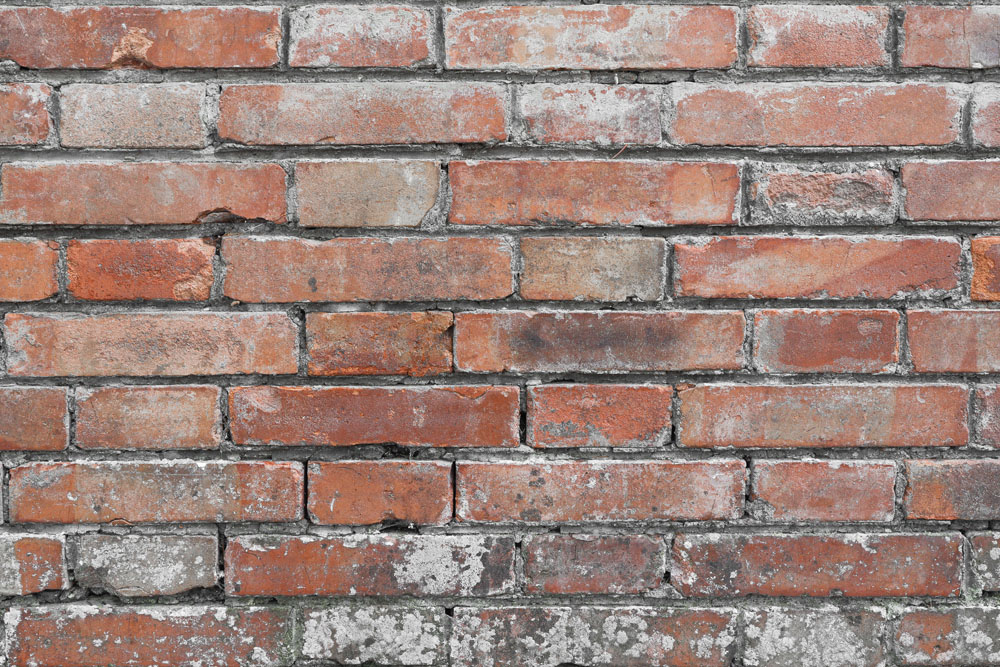
- Chimney Cap: Prevents rain and debris from entering. Flue: The passageway for smoke and gases. Crown: The top surface of the chimney that helps shed water. Masonry Structure: Usually made of bricks or stone. Chimney Liner: Protects the flue walls and enhances safety.
Each component plays a vital role in ensuring that your chimney operates efficiently.
Why Is Regular Maintenance Necessary?
Regular maintenance can prevent small issues from escalating into costly repairs. For example, blockages in the flue can lead to dangerous carbon monoxide buildup, while cracks in masonry can allow water infiltration, which may weaken structural integrity.
Common Chimney Problems
Identifying Common Issues
Recognizing potential problems early can save time and money. Here are some common issues you might encounter:
Cracks in Masonry: These can develop due to weather exposure. Leaky Flue Liners: Can cause dangerous gas leaks. Debris Blockage: Leaves and nests can obstruct airflow.Signs That Your Chimney Needs Repair
Keep an eye out for these warning signs:
- Unpleasant odors coming from your fireplace Water stains around the base Visible cracks or crumbling bricks Excessive creosote buildup
If you notice any of these signs, it might be time to get involved in some DIY chimney repair!
Tools You’ll Need for DIY Chimney Repair
Essential Tools List
Here’s a handy list of tools you'll need:
| Tool | Purpose | |---------------------|----------------------------------------------| | Trowel | For applying mortar | | Wire Brush | To clean off creosote | | Ladder | For accessing higher parts | | Safety Goggles | To protect eyes during work | | Mortar Mix | For repairing cracks | | Chimney Brush | To clean flue liners |
Having these tools ready will make your repair job much easier.
Safety Precautions Before Starting Repairs
Why Safety Matters in Chimney Repairs?
Before jumping into any repairs, ensure you're taking appropriate safety precautions:
Wear protective gear. Ensure proper ventilation if working indoors. https://generalcontractorusa.com/masonry-and-concrete-work/masonry-chimney-repair-what-homeowners-need-to-know/ Use ladders correctly; never exceed recommended weight limits.Taking these precautions minimizes risks associated with DIY repairs.
Basic Skills Needed for Masonry Chimney Repair
Understanding Mortar Application Techniques
When dealing with masonry chimney repair, knowing how to apply mortar is crucial:
Mix mortar according to manufacturer instructions. Use a trowel to apply mortar evenly into cracks. Smooth the surface after application for aesthetics and functionality.Learning this skill will significantly enhance your ability to handle minor repairs effectively.
How to Clean Your Flue Properly?
Cleaning your flue is an essential part of maintenance that should not be neglected:
Use a chimney brush with long handles. Insert it into the flue and scrub vigorously but carefully. Vacuum any debris that falls down using a shop vacuum.By maintaining cleanliness, you ensure smoother operation for years to come.
Repairing Common Issues: Step-by-Step Guide
Fixing Cracked Masonry: A Simple Process
Step 1: Identify Cracks
Use a flashlight to locate cracks in your masonry structure both inside and outside.
Step 2: Clean the Area
Remove loose debris around the crack using a wire brush.
Step 3: Apply Mortar
Fill cracks with mortar using a trowel for even coverage.
Step 4: Allow It To Cure
Let it cure as directed by product guidelines before exposing it to moisture.
Addressing Flue Leaks Effectively
Step 1: Inspect Flue Liner
Use a camera or flashlight to inspect for visible damage within the flue liner.
Step 2: Seal Small Holes
For tiny holes, use high-temperature silicone sealant designed specifically for chimneys.
Step 3: Replace If Necessary
For large gaps or severe damage, consider replacing sections of the flue liner entirely.
Preventative Measures After Repairs
How Can You Extend the Life of Your Chimney?
Once you've done repairs, follow these preventative measures:
Install a quality chimney cap. Regularly clean out debris. Schedule professional inspections annually if possible.Taking proactive steps keeps your chimney functioning optimally while extending its lifespan significantly!
Winterizing Your Chimney: Essential Tips
Why Winterization is Important?
Winter conditions can wreak havoc on chimneys if not properly winterized:
Ice dams can form if water infiltrates cracks. Cold temperatures can exacerbate existing issues like drafts or leaks.Steps to Winterize Your Chimney Effectively
Clean it thoroughly before winter sets in. Seal exposed joints with appropriate sealants designed for cold weather conditions. Cover openings when not in use—this prevents moisture buildup during thaw cycles!Ensuring winter readiness protects against costly damages later on!
FAQs About DIY Chimney Repair
Q1: How often should I inspect my chimney?
Answer: It’s recommended that homeowners inspect their chimneys at least once per year before heating season begins!
Q2: What type of mortar should I use?
Answer: Use high-temperature refractory mortar specifically designed for masonry applications like chimneys!
Q3: Can I perform repairs myself?
Answer: Yes! With proper knowledge and tools, many homeowners successfully complete their own repairs safely!
Q4: How do I know if my flue needs cleaning?
Answer: If you notice excessive soot buildup or unpleasant odors coming from your fireplace—these are strong indicators!
Q5: Are there any special certifications required?
Answer: While many basic repairs don’t require certification—a thorough understanding is essential! If unsure about significant issues—consult professionals!
Q6: What are common mistakes during DIY repairs?
Answer: Common mistakes include neglecting safety gear, improper mixing/application techniques when dealing with mortars or sealants!
Conclusion
In summary, understanding how to perform basic tasks related to DIY chimney repair transforms not only your knowledge but also enhances your home’s safety and longevity! By following this guide—from recognizing common issues through effective fixes—you’ll be well-equipped to tackle most challenges that arise concerning chimneys confidently! Remember—the key lies in regular maintenance combined with timely interventions when problems do crop up! Happy repairing!